
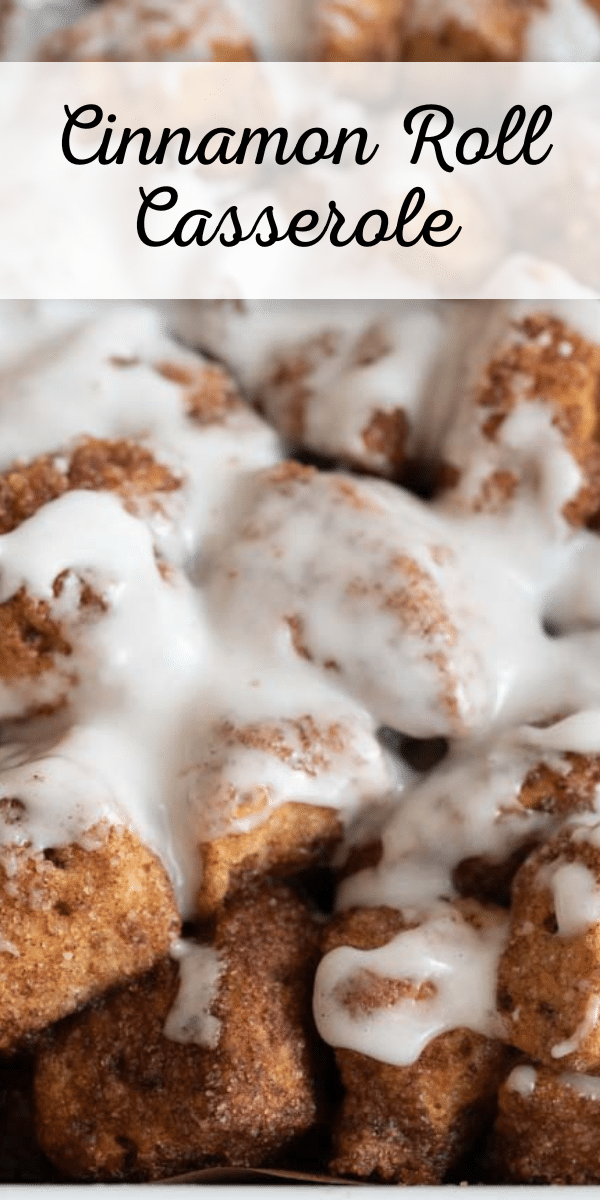
There’s nothing quite like the smell of freshly baked cinnamon rolls, but let’s face it, making them from scratch can be time-consuming and messy. That’s why I’m excited to share with you a super easy and crowd-pleasing recipe for Cinnamon Roll Casserole!
All you need are canned cinnamon rolls, butter, sugar, cinnamon, and a 9×9 pan. That’s it! The best part is that you can easily find these ingredients at your local grocery store, making this recipe a go-to for any last-minute gatherings or brunches.
WANT TO SAVE THIS RECIPE?
Enter your email below and we’ll send it straight to your inbox. Plus you’ll get great new recipes from us every week!
Cinnamon Roll Casserole
One of the best things about this recipe is that you can easily customize it to your liking. Add chopped nuts or raisins to the cinnamon sugar mixture for an extra crunch, or swap out the traditional cinnamon rolls for pumpkin or apple-flavored ones for a fun twist on the classic recipe.
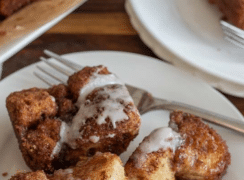
This cinnamon roll casserole is a delicious and easy way to enjoy the flavors of a classic cinnamon roll without all the fuss of making them from scratch. It’s perfect for serving to a crowd, and you can easily customize it by adding your favorite toppings, like fresh fruit or whipped cream. Try it out for your next brunch or breakfast gathering and watch it disappear quickly!
Ingredients
- 2 cans refrigerated cinnamon rolls
- Unsalted butter
- Sugar
- Cinnamon
Keep scrolling to find a full, printable recipe with detailed ingredients and instructions below.
Recipe Instructions
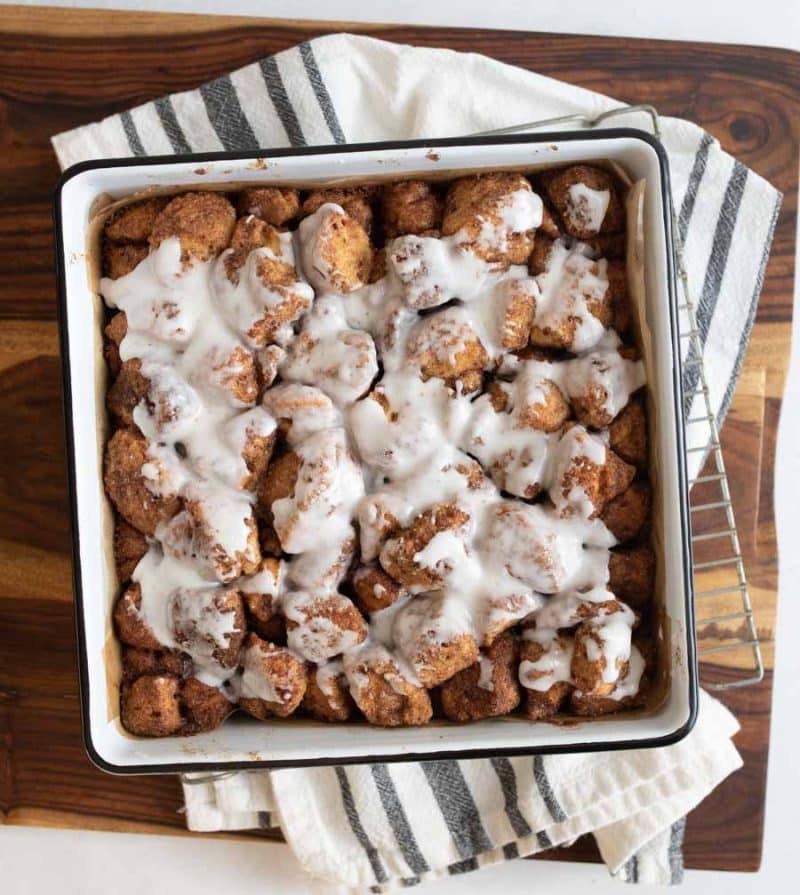
- To start open the canned cinnamon rolls and cut each one into six pieces. In a separate bowl, mix together melted butter, sugar, and cinnamon to create a sticky and delicious coating. Then, dip each piece of cinnamon roll in the mixture and place them evenly in your greased 9×9 pan.
- Once you’ve placed all the cinnamon roll pieces in the pan, pour any remaining mixture over the top. This will ensure that every inch of the cinnamon roll casserole is covered in that irresistible cinnamon and sugar flavor. Pop the pan in the oven and bake for 30-35 minutes or until the cinnamon rolls are golden brown and cooked through.
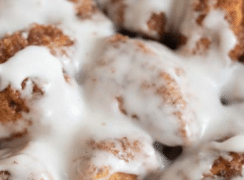
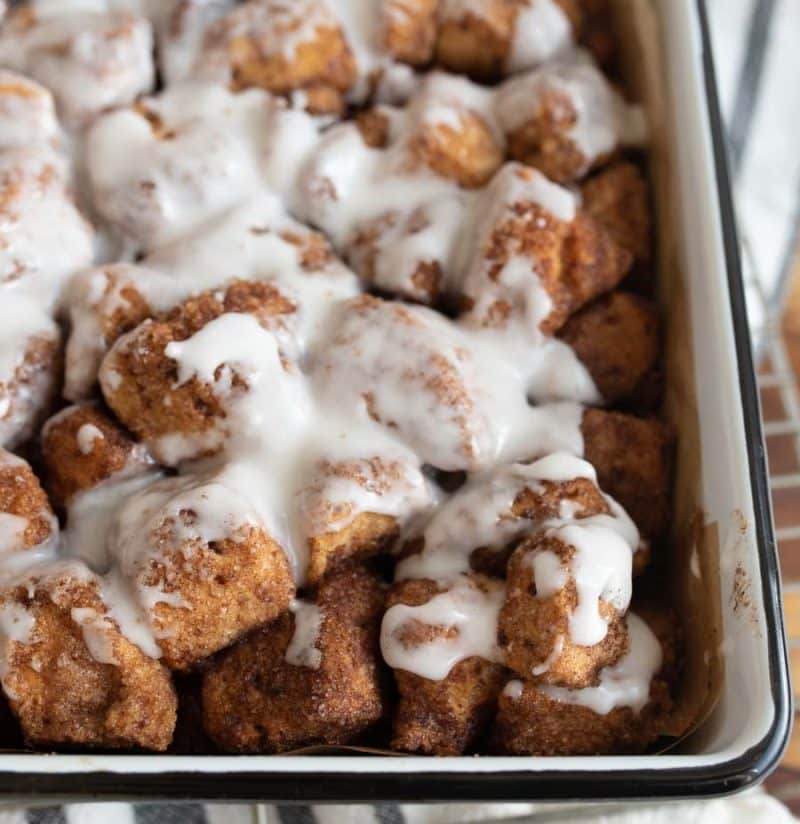
- As soon as your cinnamon roll casserole comes out of the oven, drizzle the icing that comes with the canned cinnamon rolls over the top. This will add the perfect amount of sweetness and a beautiful finish to your creation. And there you have it, a delicious and easy-to-make cinnamon roll casserole that’s perfect for feeding a crowd.
Frequently Asked Questions
Yes, you can assemble the cinnamon roll casserole ahead of time and keep it covered in the fridge until you’re ready to bake it. Just remember to remove it from the fridge about 30 minutes before baking to let it come to room temperature.
You can use homemade cinnamon rolls in place of canned ones. Just cut them into small pieces and follow the recipe as written.
Cinnamon roll casserole freezes great! Bake, cool and then wrap it tightly in plastic wrap and store it in the freezer for up to 3 months. To reheat, thaw it overnight in the fridge and then bake it in the oven at 350 degrees F for 10-15 minutes or until heated through.
You can make cinnamon roll casserole in a different size pan, just be aware that the baking time may vary. If you use a larger pan, the cinnamon rolls may cook faster, so keep an eye on them and adjust the baking time as needed.
More Recipes
- Easy Homemade Cinnamon Roll Recipe
- Quick and Easy Cinnamon Roll Cake
- Cinnamon Coffee Cake
- Snickerdoodle Bread with Cinnamon Chips
- Citrus Cream Cheese Pull Apart Rolls
If you’ve tried this Cinnamon Roll Casserole recipe or any other recipe on Barbara Bakes, then don’t forget to rate the recipe and leave me a comment below! I would love to hear about your experience making it. And if you snapped some pictures of it, share it with me on Instagram so I can repost on my stories.
WANT TO SAVE THIS RECIPE?
Enter your email below and we will send it straight to your inbox. Plus you will get great new recipes from us every week!

Cinnamon Roll Casserole
Ingredients
- 2 cans refrigerated cinnamon rolls, with icing 12.4 ounces each, 8 cinnamon rolls each (16 total)
- 1 cup unsalted butter melted
- 1 ¼ cups granulated sugar
- 1 tablespoon ground cinnamon
Instructions
- Preheat your oven to 350°F (175°C). Grease a 9×9 inch baking dish or a large bundt pan with non-stick cooking spray or butter.
- Open the cans of cinnamon roll dough and set the icing packets aside for later use. Cut each cinnamon roll into 6 pieces.
- In a small bowl, combine the granulated sugar and ground cinnamon. Mix well to create the sugar-cinnamon mixture.
- In a separate bowl, toss the cut cinnamon roll pieces with the melted butter, ensuring that all the pieces are evenly coated.
- Roll the butter-coated cinnamon roll pieces in the sugar-cinnamon mixture, making sure they are fully coated.
- If using nuts or raisins, mix them into the coated cinnamon roll pieces at this point.
- Arrange the coated cinnamon roll pieces evenly in the greased baking dish or bundt pan. If there’s any leftover melted butter or sugar-cinnamon mixture, drizzle it over the pieces.
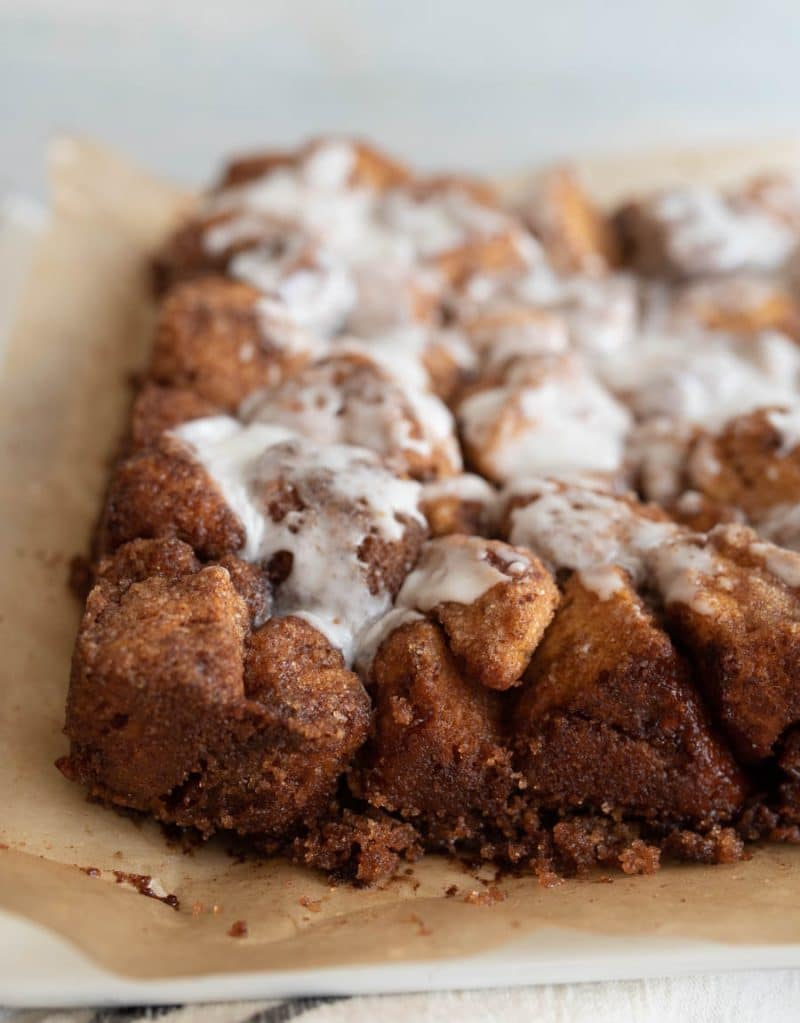
- Bake for 30-35 minutes, or until the casserole is golden brown and cooked through (it takes longer to bake in the bundt pan). Use a toothpick to check for doneness; it should come out clean or with a few crumbs.
- Drizzle the icing over the warm casserole, making sure to cover all the pieces.
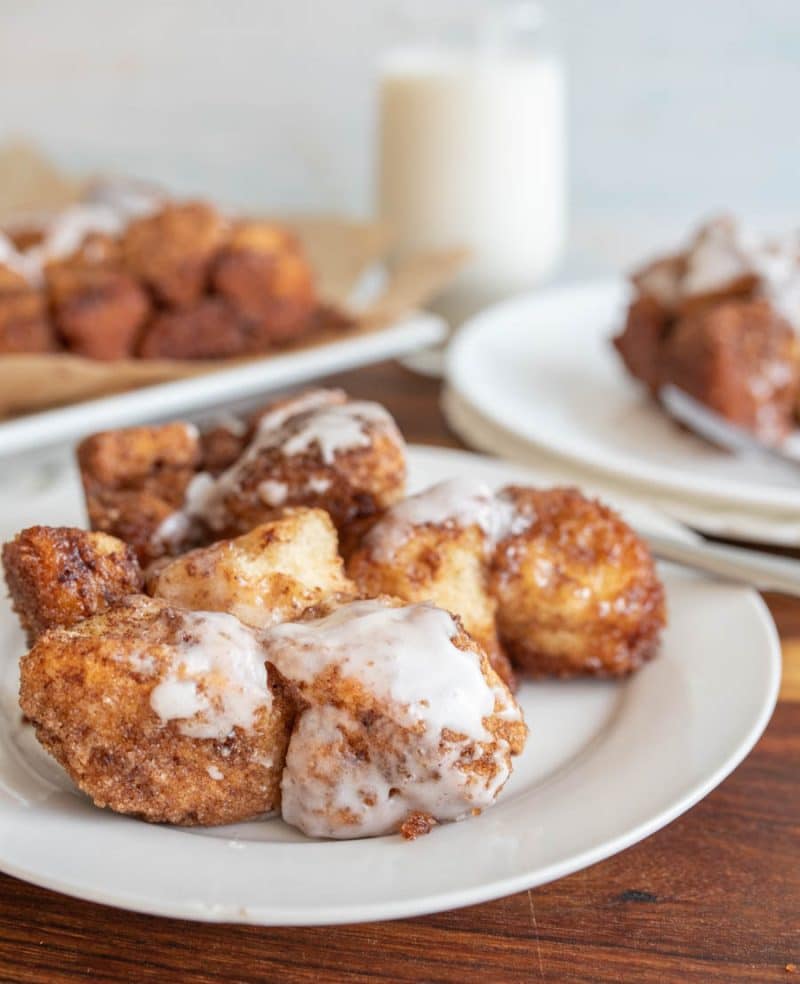
- Serve the cinnamon roll casserole warm, using a spatula to scoop out individual servings. Enjoy your delicious, gooey, monkey bread-style treat!
Notes
- You can add ½ cup chopped nuts (such as walnuts or pecans) and/or a ½ cup raisins to this dish if you’d like, just add them a little at a time while you are adding the bread pieces so they are evenly distributed.
- I used the normal Pillsbury canned cinnamon rolls that aren’t fancy, or jumbo, or Cinnabon. The plain ones are more like biscuits with cinnamon pieces in them and not round rolled up cinnamon rolls. The biscuit-like kinds are easier to work with for this recipe.
Nutrition
Cinnamon roll casserole is a fantastic option for anyone looking to satisfy their sweet tooth without spending hours in the kitchen. With just a few ingredients and some simple steps, you can create a delicious and impressive dish that’s sure to become a crowd favorite. So next time you’re in the mood for something sweet and easy, give this recipe a try and enjoy the delicious results!

Rehoboth
Very nice post. Very informative