
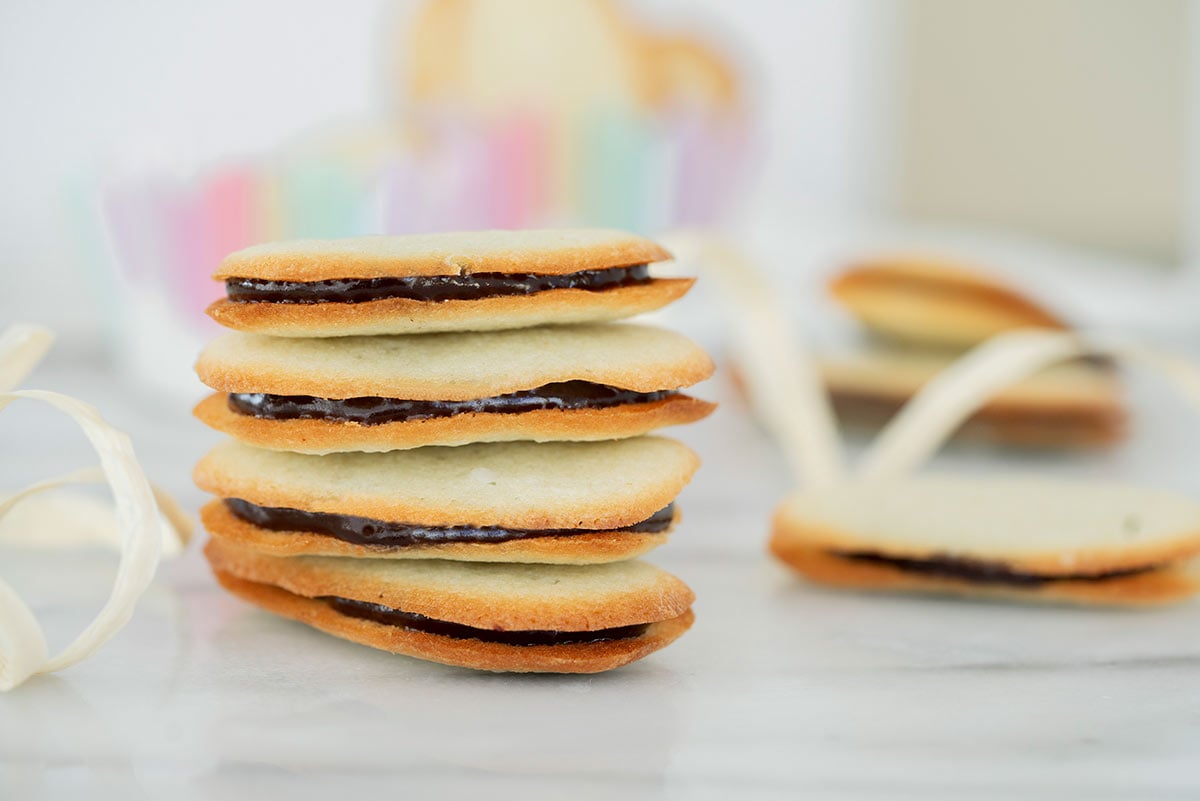
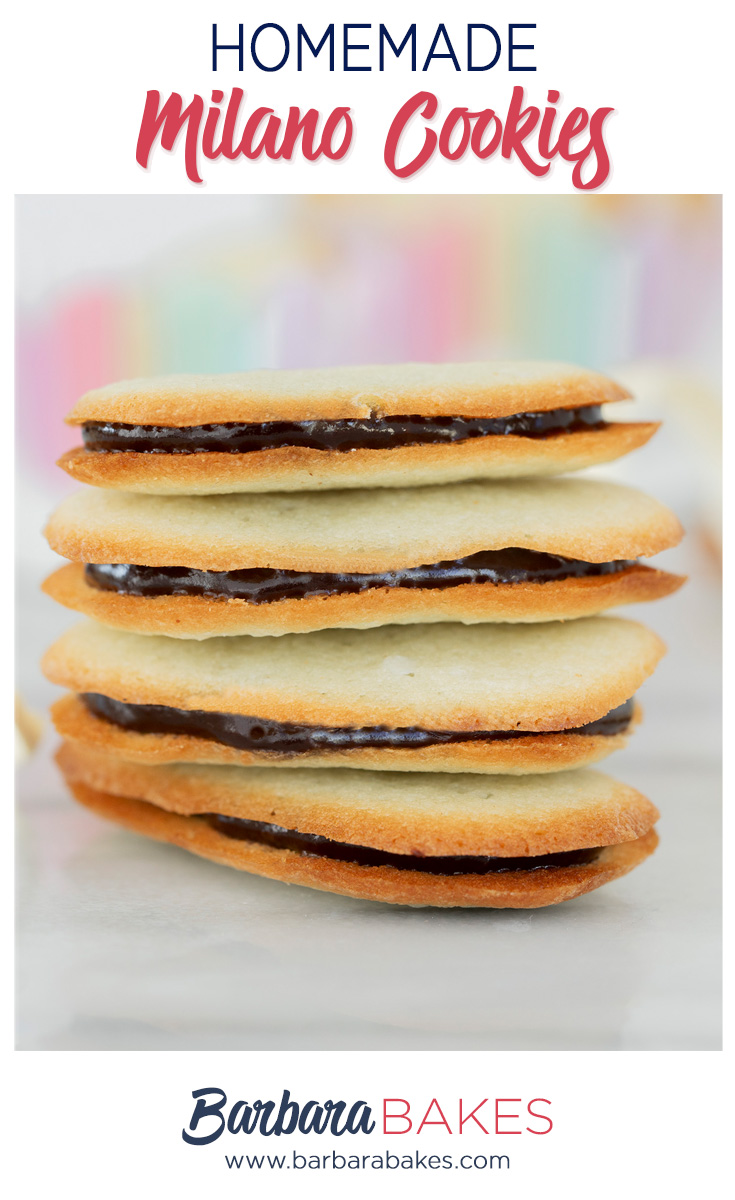
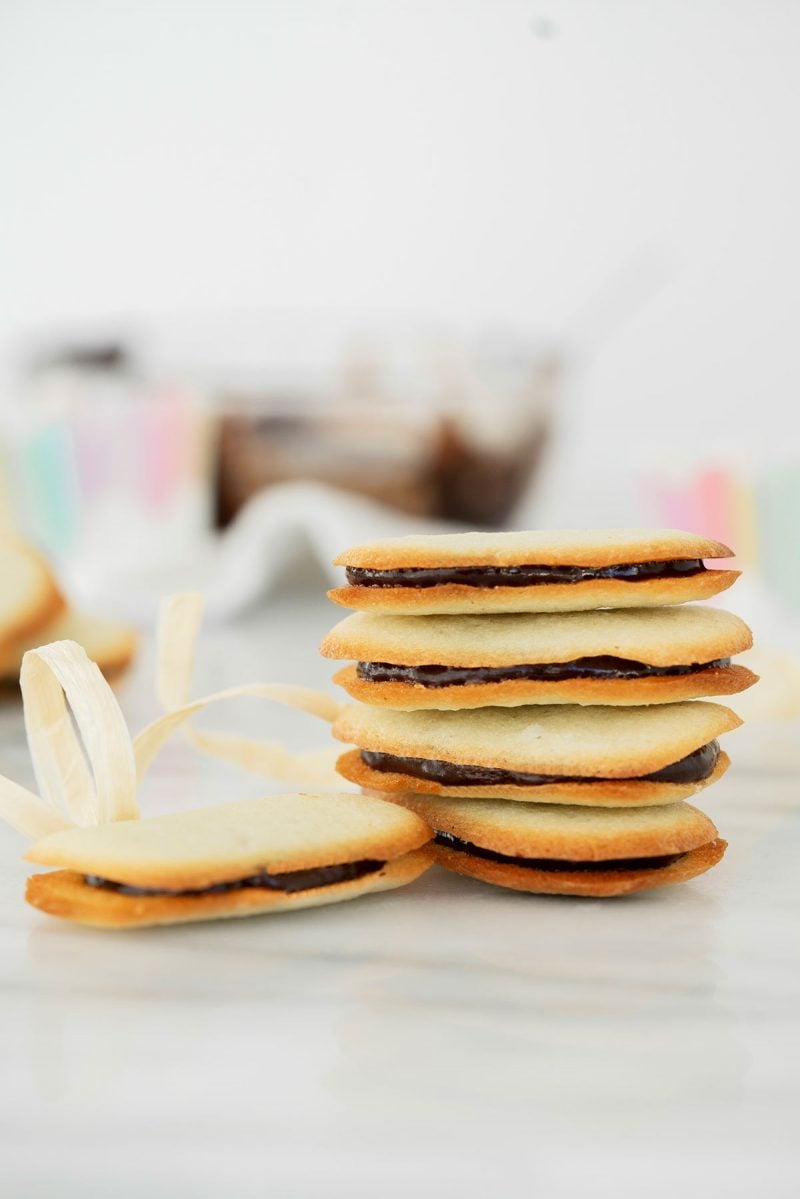
This homemade Milano cookie recipe has a rich chocolate filling with a hint of orange sandwiched between two thin, crisp cookies. They’re less expensive than the store-bought cookie, and fun and easy to make!
WANT TO SAVE THIS RECIPE?
Enter your email below and we’ll send it straight to your inbox. Plus you’ll get great new recipes from us every week!
Cookies are one of my favorite things to bake. And who doesn’t love Pepperidge Farm’s Milano Cookies? They’re perfectly crisp, not too sweet and so satisfying as an afternoon pick-me-up.
Update: I’ve updated this post in time for holiday cookie baking with new tips and photos of these delicious homemade Milano cookies. Enjoy!
This recipe for homemade Milano cookies is adapted from the Milan cookie recipe by Gayle Gand. Crisp butter cookies and a thin layer of homemade chocolate ganache make a perfectly elegant treat for all ages.
Despite how sophisticated Milano cookies seem, they’re surprisingly easy to make at home. The cookies are classic thin butter cookies that are crisp, golden on the edges, and just sweet enough. Between the cookies is a thin smear of semi-sweet chocolate ganache that adds the signature Milano flourish.
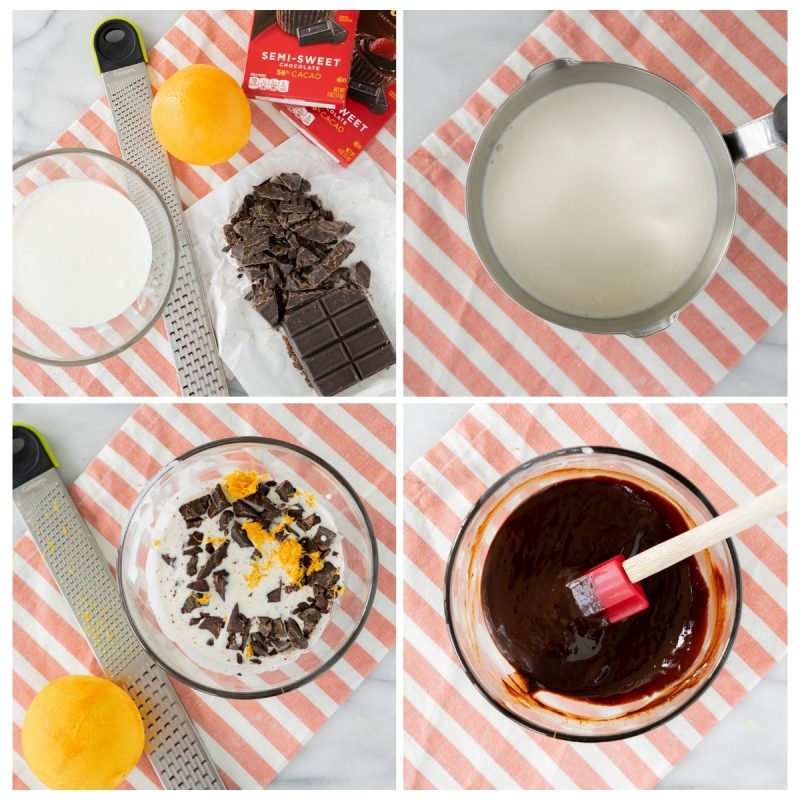
Three-Ingredient Chocolate Filling
You start by making the chocolate filling (ganache) so it has time to cool and thicken while you make the cookies.
Ues a good quality semi-sweet chocolate, heavy cream and the zest from one orange which adds a delightful bright flavor to the crisp cookies. You could substitute ½ teaspoon orange oil for the orange zest if you prefer.
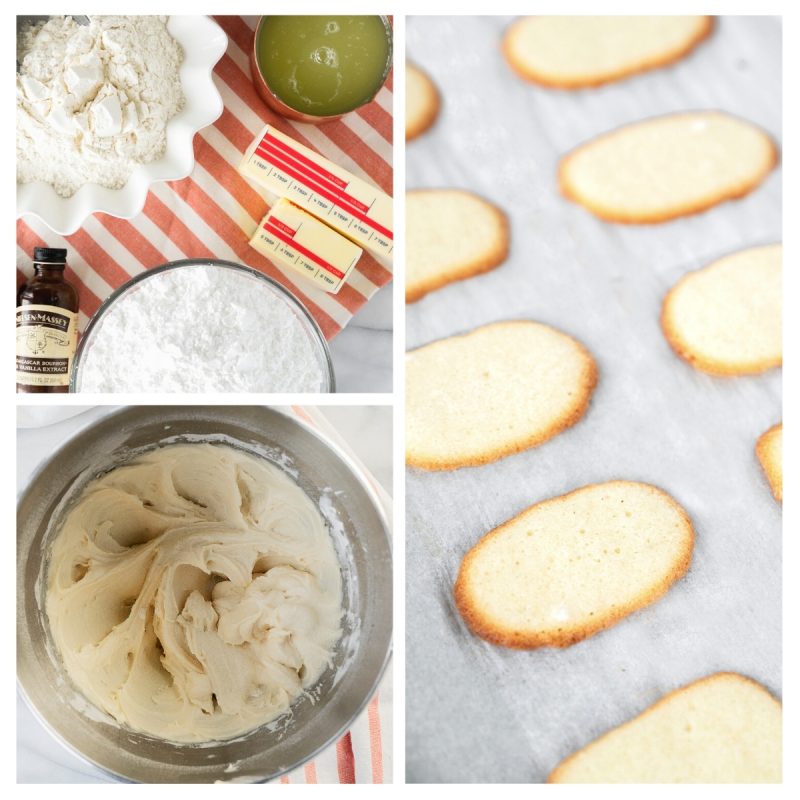
How to Make Milano Cookies
All ingredients should be room temperature before baking. If you want to quickly bring your eggs to room temperature, put them in a bowl of warm water for about 10 minutes. Soften your butter quickly by cutting it into tablespoons and separating them in your mixing bowl, or use this easy technique for quickly softening butter.
Once mixed, the batter will be thick but fluid like a thick glue.
How to Shape Milano Cookies?
You have two options for shaping the cookies. You can pipe the cookies in a straight line using a piping bag with a #12 tip so the sides of each cookie will be even and smooth. Or, you can spread the batter on the parchment paper using a template/cutout and you do not need a piping tip.

Piping Method
Print out the piping template and place it under parchment on your cookie sheet. It helps your lines be straighter and the cookies the same length.
Using a piping bag and (¼-inch) plain tip #12, pipe over each line trying your best to make sure that each piping is smooth and consistent.
Batter will spread while it bakes, so if you’re not using the template, make sure there is at least 2 inches between each cookie.
Start watching your cookies at around 8 minutes into baking to make sure the edges aren’t getting too brown. Edges should be a rich golden brown.
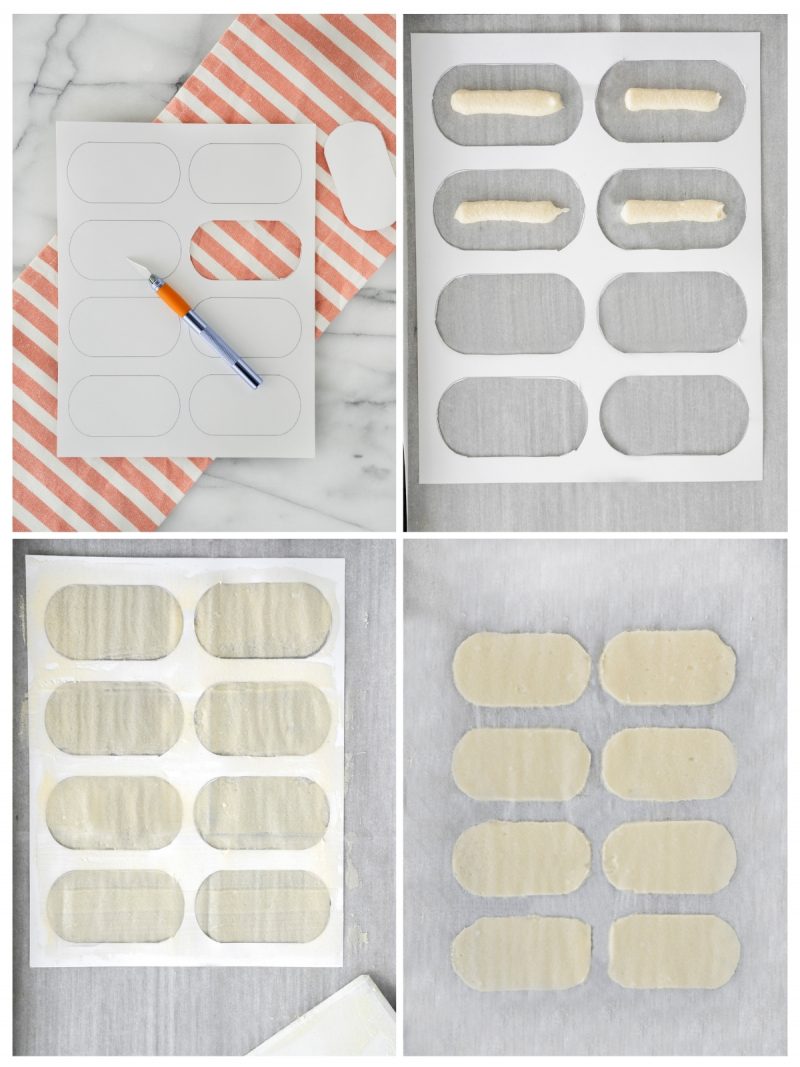
Template Method
Print the shaping template and cut out the Milano shapes. For printing, sturdy card stock will work best. If you do not have card stock print the template on standard paper, cut out the shape, and use it to trace the shape onto an old holiday/birthday card and cut out the shape and make each cookie one at a time.
Lay the template on the parchment lined cookie sheet. Spoon or pipe batter into the center of each cut out.
Using a pastry scraper, scrape over the template so the batter is spread evenly as it is being scraped.
You may have to pipe and scrape a few times to get each cookie the right thickness.
IMPORTANT: When you are done your scraped batter should be thin but NOT transparent. It should be thick enough that you do not see the parchment paper under the batter (see photos).
Note that there may be some areas of missing batter, just pipe more batter where needed and scrape again.
Lift the template and repeat as necessary until cookie sheet is full.
Note that using the template your cookies will not spread as much while baking as with the piping method.
While baking start watching your cookies at around 6 minutes to make sure the edges aren’t getting too brown. Edges should be a rich golden brown.
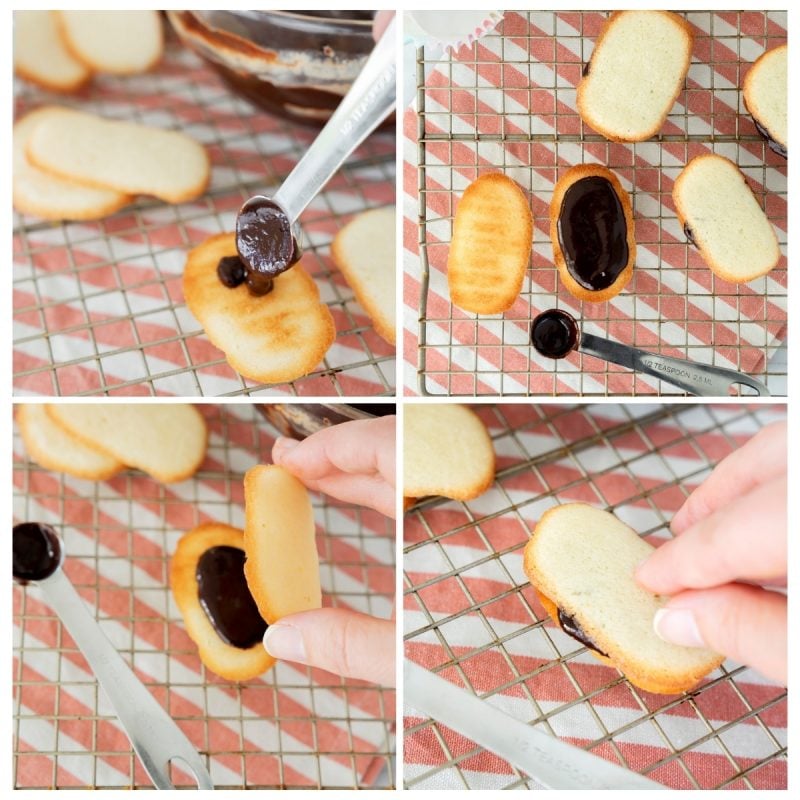
Assembling Your Cookies
It’s important to let your cookies cool fully before filling them and sandwiching the cookies.
Once cookies are cooled match up pairs that are equal in size.
Using a small spoon scoop a small amount of ganache onto each bottom cookie and spread, leaving ¼ inch around the edge of each cookie.
Place top cookie on top and gently press cookie into place. Ganache will slightly ooze to the edges. Repeat with remaining cookies.
It will take some time for the chocolate to set up, so let the finished cookies rest for awhile before serving. You can refrigerate the cookies if you’re in a hurry to serve them.
Store in an airtight container.
More Cookie Recipes to Try
Whether you’re in full holiday making mode or just looking for another best-ever cookie recipe, give these a try next:
- Peppermint Chocolate Marshmallow Cookies have a fluffy marshmallow surprise between layers of soft chocolate cookie and peppermint-studded ganache.
- World Peace Shortbread Cookies are the soft, chewy, and chocolate-packed antidote to conflict.
- Chewy Caramel Stuffed Sugar Cookies are another dessert with a sweet surprise inside: gooey melted caramel.
Do you LOVE this recipe?
Leave us a review below to tell us why!
WANT TO SAVE THIS RECIPE?
Enter your email below and we will send it straight to your inbox. Plus you will get great new recipes from us every week!
Homemade Milano Cookies
Equipment
Ingredients
- 12 tablespoons butter softened
- 2 ½ cups powdered sugar
- ⅞ cup egg whites from about 6 eggs
- 2 tablespoons vanilla extract
- 1 ½ cups flour
Cookie Filling
- ½ cup heavy cream
- 8 ounces semisweet chocolate chopped
- 1 orange zested
Instructions
- Prepare Cookie Filling: In a small saucepan over a medium setting, heat cream just until it comes to a boil. Pour hot cream over chocolate in a bowl. Let sit for 2 to 3 minutes. Gently whisk to melt chocolate. Stir in zest. Set aside to cool (the mixture will thicken as it cools).
- Preheat oven to 350°.
- In a large mixing bowl, cream the butter until light and fluffy. Gradually mix in the sugar.
- Gradually beat in the egg whites. Add the vanilla extract and beat until well blended.
- Add the flour and mix until just incorporated.
- With a small (¼-inch) plain tip #12, pipe 2-inch sections of batter onto a parchment-lined sheet pan, spacing them 2 inches apart as they spread. (I’ve created a template you can use to space the cookies, as well as a shape template if you prefer to spread the dough out before cooking. Remove the template before baking.)
- Bake for 10 minutes or until light golden brown around the edges. Watch them closely so they don’t burn on the edges. Let cool on the pan for 5 minutes and remove to a cooling rack to cool completely before filling.
- Spread a thin amount of the filling onto the flat side of a cookie while the filling is still soft and press the flat side of a second cookie on top. Repeat with the remaining cookies.

Leave a Reply