


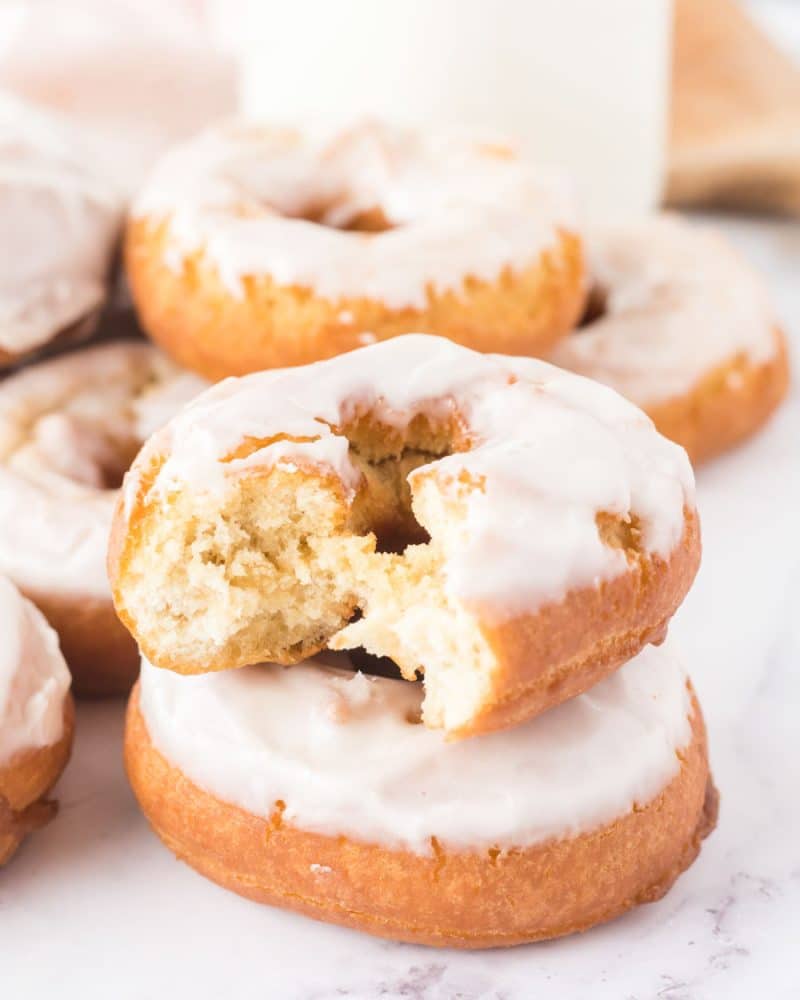
This buttermilk donut recipe creates the most tender, perfectly crispy donuts you’ll ever make at home. The tangy buttermilk ensures a light, fluffy interior while the quick fry gives them that irresistible golden-brown crust.
WANT TO SAVE THIS RECIPE?
Enter your email below and we’ll send it straight to your inbox. Plus you’ll get great new recipes from us every week!
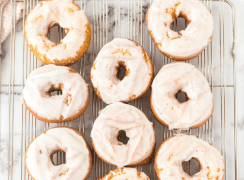
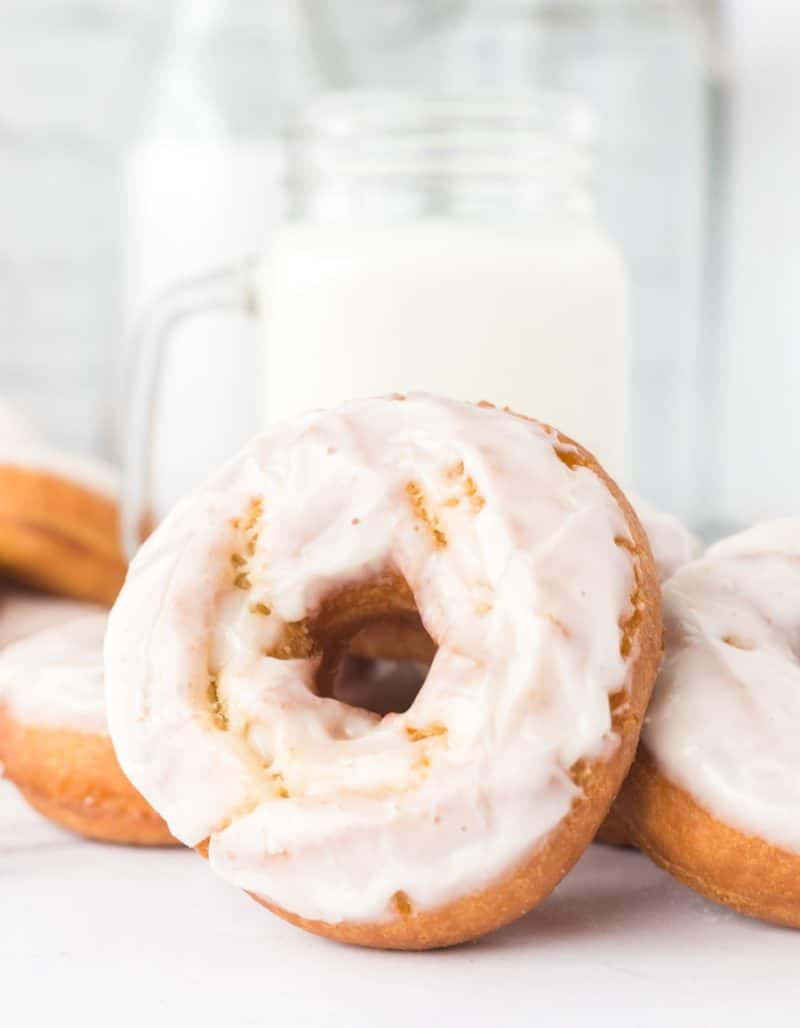
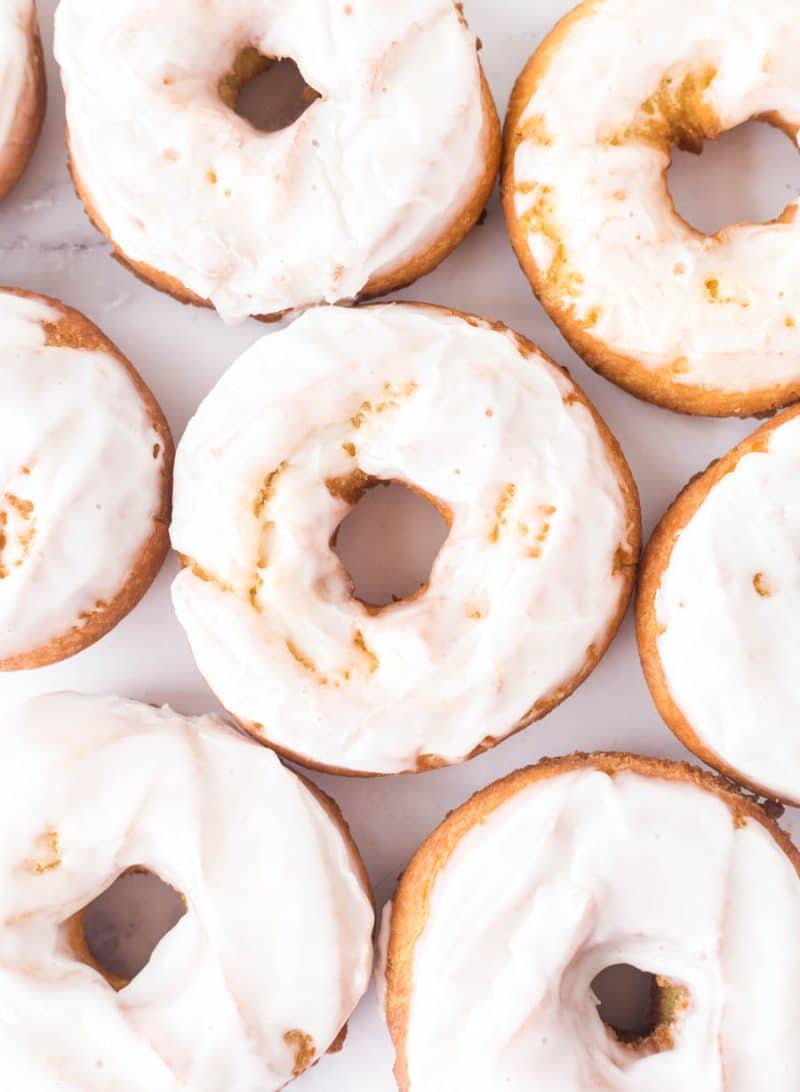
These donuts are crisp on the outside but tender and moist on the inside with a sweet glaze that you’ll want to lick off your fingers.
An old-fashioned donut was never my first choice at a donut shop. Recently, though I’ve fallen in love with old fashioned buttermilk donuts, and these are now a close favorite along with fall-flavored pumpkin donuts.
Simple pantry ingredients transform into magic in this classic recipe, handed down through generations of home bakers. The secret lies not just in the buttermilk, but in letting the dough rest just long enough for the gluten to relax, resulting in donuts that practically melt in your mouth rather than turning tough or chewy!
Jump to:
Why You’ll Love This Buttermilk Donut Recipe
- Simple Ingredients: Everything you need is likely already in your pantry – flour, buttermilk, eggs, and basic baking staples mean no special shopping trips required.
- Customizable Toppings: Endless options for glazes, sugars, and sprinkles, allowing for creativity and personalization. Whether you prefer a classic sugar coating or a decadent chocolate drizzle, you can tailor these donuts to your taste.
- Crowd Pleaser: Whether you’re serving kids or adults, these classic donuts hit all the right notes – crispy exterior, tender inside, and that nostalgic homemade taste that store-bought can’t match.
- Irresistible Flavor: The buttermilk adds a tangy richness, resulting in donuts that are tender, moist, and perfectly balanced. The subtle tang pairs beautifully with sweet toppings, creating a flavor that’s hard to resist.
🍩 Apple cider donuts are one of those things you just have to make when the leaves start turning—it’s like a rule, but way more delicious.
Ingredients
- Flour
- Sugar
- Baking powder
- Baking soda
- Ground nutmeg
- Buttermilk
- Unsalted butter
- Eggs
- Vegetable oil
- Powdered sugar
- Vanilla extract
See the recipe card below for full information on ingredients and quantities.

How to Make Old Fashioned Buttermilk Donuts
- In a large mixing bowl, mix together 1 cup of flour, sugar, baking powder, baking soda, salt, and nutmeg.
- In small mixing bowl, whisk together buttermilk, butter, and eggs. Add wet ingredients to the dry and mix on medium speed for about 30 seconds.
- With speed on low, gradually mix in the remaining flour a little at a time. Add more or less flour as necessary to make a soft dough that is moist and slightly tacky. Cover bowl with plastic wrap and chill for 1 hour.
- Place oil in a Dutch oven and heat to 375°.
- Prepare the glaze by whisking together the powdered sugar, vanilla and water until smooth. Add additional powdered sugar or water if necessary for a thin glaze.
- On a lightly floured surface, use a floured rolling pin to roll out the dough to ½ inch thick. Use a floured donut cutter or a large and a small biscuit cutter to cut out the donuts and donut holes. Gather scraps together and roll out again to cut more donuts. Lightly score the donuts three times, making a triangle in the ring of the donut to help create the “petals”.
- Cook several donuts at a time scored side up, flipping them over as they rise to the surface and turn golden brown, about a minute per side. Drain on a wire rack. Before frying another batch, make sure oil temperature has returned to 375° and cut one open to make sure they are cooked through. The exteriors should be deep brown and light and not doughy.
- Remove the donuts from the oil and set them on the rack to drain and cool slightly.
- While still warm, dip the donuts, petals side down, into the glaze. Swirl the donut in the glaze a little, then pick it up and let the excess glaze dribble back into the bowl.
- Return the glazed donut to the rack to let the glaze dry.
- Repeat the process until all donuts and donut holes have been cooked and glazed.
Recipe FAQs
Yes, but baking will produce a different texture. This buttermilk donut recipe uses frying as the cooking method, which creates the signature crispy exterior that old-fashioned donuts are known for. Baking will result in a softer, cake-like donut.
Making sure your oil is at the correct temperature is the key to successfully frying donuts. An instant-read thermometer is an essential tool to make sure the oil is back up to temperature between rounds of donuts.
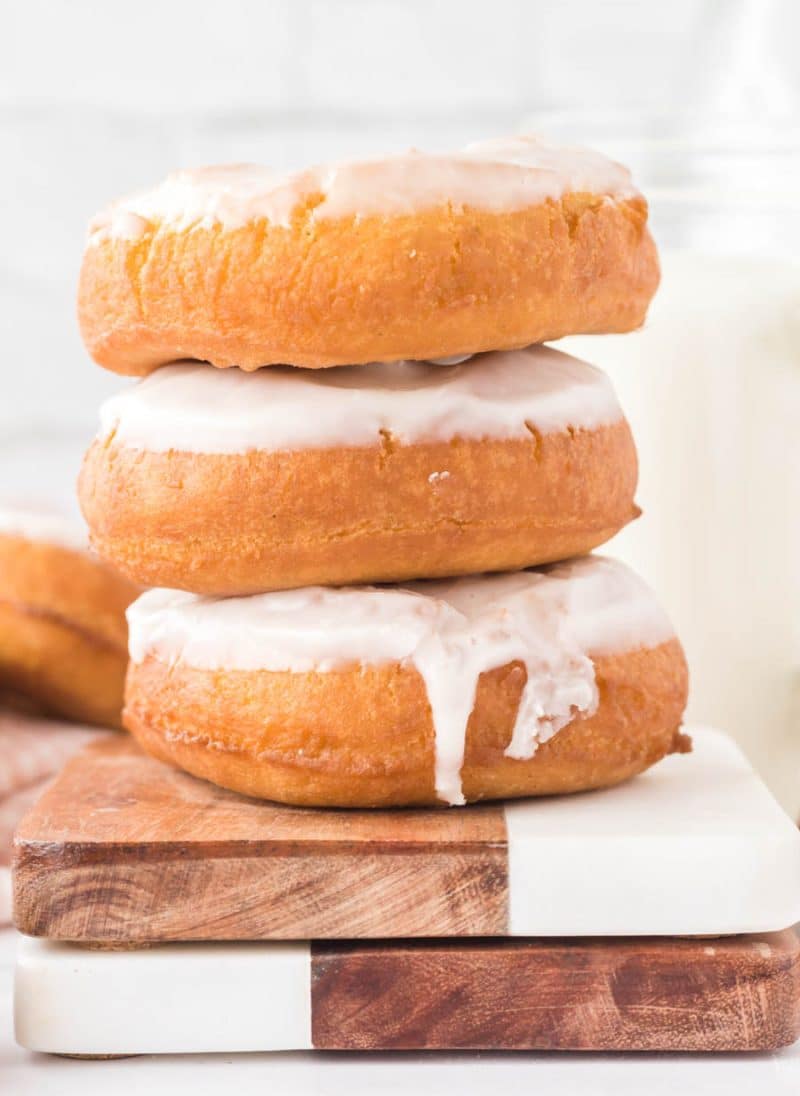
These two donuts vary greatly in appearance but also how they are cooked. Old fashioned donuts are fried at a lower temperature and produce a bumpy, cracked surface that also resembles petals of a flower — this buttermilk donut recipe will result in super yummy old-fashioned donuts!
Absolutely! You can prepare the dough the night before and refrigerate it, tightly covered, for up to 12 hours. Let it sit at room temperature for about 20-30 minutes before rolling and cutting. This can save time in the morning and even enhance the flavor as the ingredients meld together
Expert Tips
- Don’t Skip Scoring: Lightly scoring the tops of the donuts before frying helps create the iconic “petal” shape and provides extra crispy edges.
- Work in Small Batches: Fry only a few donuts at a time to avoid overcrowding the pan, which can drop the oil temperature and result in uneven frying.
- Glaze While Warm: Dip the donuts in glaze while they’re still warm to ensure an even coating that sets beautifully with a shiny finish. Use a cooling rack for glazing as it allows excess oil to drip off and prevents the donuts from becoming soggy.
- Keep the Dough Chilled: If the dough becomes too soft or sticky while working with it, pop it in the fridge for 10-15 minutes. Chilled dough is easier to handle and helps the donuts hold their shape better during frying.

Serving Suggestions
These buttermilk donuts are best served fresh and warm for the ultimate indulgence. Pair them with a cup of freshly brewed coffee, a glass of cold milk, or even a scoop of vanilla ice cream for a decadent treat.
For a fun twist, set up a DIY donut bar with an assortment of toppings like chocolate glaze, caramel drizzle, sprinkles, or crushed nuts, allowing everyone to customize their own.
How to Store Leftovers
Store leftover donuts in an airtight container at room temperature for up to 2 days. If glazed, place parchment paper between layers to prevent sticking.
For longer storage, freeze unglazed donuts in a freezer-safe bag for up to 2 months. Thaw at room temperature and reheat in the oven or microwave for a few seconds to restore their freshness.
Delicious Donut Recipes You Should Try
If you enjoyed this old fashioned donut recipe, you’ll sure love these recipes.
- Baked Cake Donuts are light, fluffy, and perfect for a quick breakfast or dessert without the hassle of frying.
- Warm, cozy, and packed with flavor, Banana Bread Cinnamon Chip Donuts combine the best of banana bread and donuts in every bite.
- Indulge in the decadent goodness of Chocolate Caramel Pecan Turtle Donuts, a rich combination of chocolate, caramel, and crunchy pecans.
- For a simple but irresistible classic, try the Chocolate Glazed Donuts, featuring a smooth and shiny chocolate coating that melts in your mouth.
WANT TO SAVE THIS RECIPE?
Enter your email below and we will send it straight to your inbox. Plus you will get great new recipes from us every week!

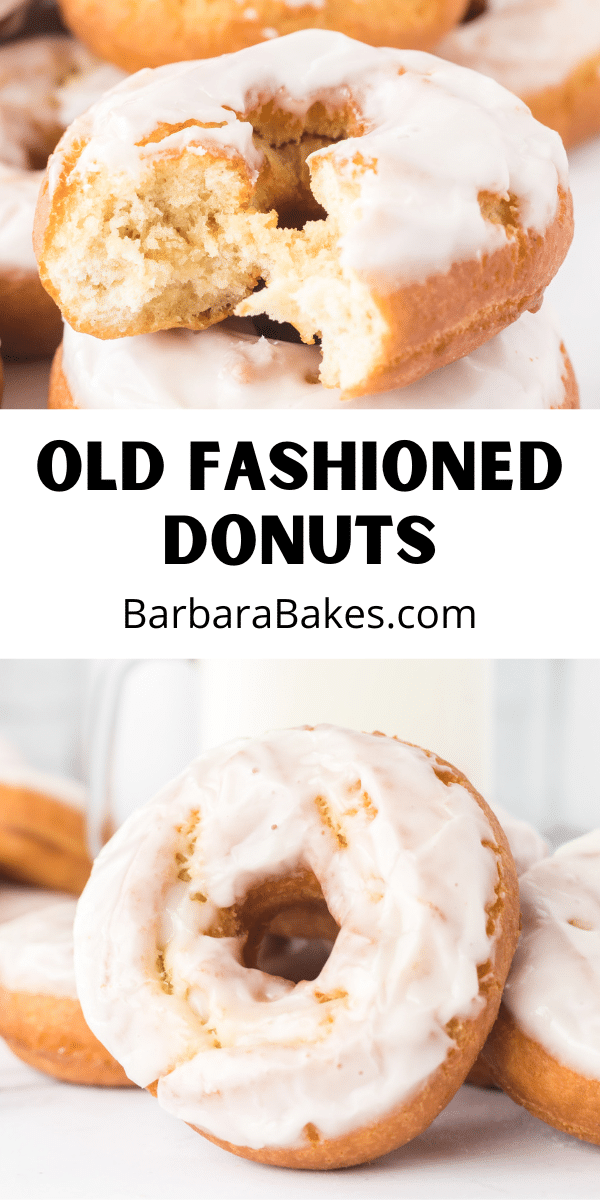
Old Fashioned Buttermilk Donut Recipe
Ingredients
- 3 ½ cups all-purpose flour
- 1 cup sugar
- 2 teaspoons baking powder
- ½ teaspoon baking soda
- 1 teaspoon salt
- ¼ teaspoon ground nutmeg
- ¾ cup buttermilk
- 4 tablespoons unsalted butter melted and cooled
- 2 large eggs plus one egg yolk
- 6 cups vegetable oil
- 4 cups powdered sugar
- 1 teaspoon vanilla extract
- ⅓ cup water
Instructions
- In a large mixing bowl, mix together 1 cup of flour, sugar, baking powder, baking soda, salt, and nutmeg.
- In small mixing bowl, whisk together buttermilk, butter, and eggs. Add wet ingredients to the dry and mix on medium speed for about 30 seconds.
- With speed on low, gradually mix in the remaining flour a little at a time. Add more or less flour as necessary to make a soft dough that is moist and slightly tacky. Cover bowl with plastic wrap and chill for 1 hour.
- Place oil in a Dutch oven and heat to 375°.
- Prepare the glaze by whisking together the powdered sugar, vanilla and water until smooth. Add additional powdered sugar or water if necessary for a thin glaze.
- On a lightly floured surface, use a floured rolling pin to roll out the dough to ½ inch thick. Use a floured donut cutter or a large and a small biscuit cutter to cut out the donuts and donut holes. Gather scraps together and roll out again to cut more donuts. Lightly score the donuts three times, making a triangle in the ring of the donut to help create the “petals”.
- Cook several donuts at a time scored side up, flipping them over as they rise to the surface and turn golden brown, about a minute per side. Drain on a wire rack. Before frying another batch, make sure oil temperature has returned to 375° and cut one open to make sure they are cooked through. The exteriors should be deep brown and light and not doughy.
- Remove the donuts from the oil and set them on the rack to drain and cool slightly.
- While still warm, dip the donuts, petals side down, into the glaze. Swirl the donut in the glaze a little, then pick it up and let the excess glaze dribble back into the bowl.
- Return the glazed donut to the rack to let the glaze dry.
- Repeat the process until all donuts and donut holes have been cooked and glazed.
Notes
- Before frying the full batch, test a small piece of dough to check the oil temperature and frying time.
- For an extra layer of flavor, infuse your frying oil with a cinnamon stick, vanilla bean, or citrus peel.
- Mix the batter just until the ingredients are combined to avoid tough, dense donuts.
- Consider doubling the recipe if you’re serving a crowd or want leftovers.

Nathan Klassen
Wonderful recipe. First time making doughnuts and they turned out great. My doughnut cutter must be smaller though because the recipe made 30 doughnuts. We had to invite friends over to help eat them. Highly recommend and will be making them again soon!
Joy Rogers
Followed recipe as directed and made delicious donuts! Thank you, will make these again!
Eileen
OMG! Easy and delicious!! I had to invite family over to pick some up for fear that I would eat all of them myself.
Lenor
Dear Miss Barbara,
I always read reviews before I try a new recipe simply because food and cooking equal time and money. When I read Victoria’s review, I was ashamed that anyone would even post something like that. I will make sure and check my oil temp carefully. It is possible that Victoria did all of those things. However not all thermometers work properly, and not all stoves, especially electric are consistent in temperature. I am happy to try your recipe.
Allison
Can these be air fried?
Melissa Griffiths
I haven’t tried it but I’d love to know if it works for you!
Rehoboth
I very much appreciate your contribution
Tammy
First off, I was surprised to find my Grandma Croft’s Buttermilk doughnut recipe here since, as far as I know, she inherited it from HER grandmother. Also, to everyone who has commented on the doughnuts being too dark or doughy in the middle, lower the heating element under the oil and WAIT FOR THE TEMPERATURE TO GO DOWN. Personally, I usually throw some shoestring potatoes in the oil to bring the temperature down.
Melissa Griffiths
So glad you liked them!
Gina
Just made a batch. They are delicious. After I rolled them out I put them back in the refrigerator to chill in between batches. Frosted them with many toppings. Great flavor not too sweet. Fried beautifully!!!
Patsy Thibault
The absolute BEST tasting buttermilk donuts!
Hez
Excellent! Turned out great the first time. I added 1 Tbsp of a ‘fall spice’ mix to the batter-delicious!
Gail
Just curious? Is there a big difference between using peanut oil and lard? My grandmother always swore by lard.
Barbara Schieving
Hi Gail – I have never used lard, but you can use many types of fat or oil for frying and they’ll all cook up a little bit differently. Here’s a good article that talks about the differences https://www.saveur.com/article/Kitchen/Five-Oils-for-Frying/
Liz Burke
Can you bake these?
Barbara Schieving
Hi Liz – no, you need more of a cake-style donut for baking. Try one of these baked donut recipes https://www.barbarabakes.com/baked-lemon-donuts/ https://www.barbarabakes.com/baked-apple-cinnamon-sugar-donuts/ https://www.barbarabakes.com/banana-bread-cinnamon-chip-donuts/
Donnita
Yesterday as the nation’s capital region was being hit with an ice storm I got busy in my kitchen making these wonderful donuts. I had an ancient donut cutter that was passed down to me and a candy/deep fat thermometer that clipped to the side of the Le Creuset dutch oven I’ve had since my early 20’s. I was ready to take on the task of making donuts. I made only a few adjustments. I didn’t score or use the glaze. instead I used a cinnamon sugar coating. After I got the peanut oil temperature stabilized I rolled out the dough and started cutting and frying. I fried them for one minute per side. Perfection! I rolled the first one in my cinnamon sugar dish and broke it in half. I was in awe of the beautiful cake like center and the crispy edges. But then I took a bite and I could hardly believe I had just made such a perfect donut. I was able to get 15 donuts and many more holes as the final scraps I hand rolled into more holes. I made up a couple bags of donuts and navigated my slippery neighborhood to walk some donuts to my neighbors. I can’t wait to make these for my grandchildren.
Thanks for the wonderful recipe.
Barbara Schieving
Thanks Donnita – Great job! How nice of you to share your beautiful donuts with your neighbors. Glad you loved the recipe.
Leah
Donuts turned out great!
Donna Wright
I made these donuts for my son and grandson as I was trying to replicate my mother’s donuts. YES, yours are like the ones she made some 65 years ago. Wonderful recipe. My son liked them so much he is in the kitchen right now making his own batch. I’m so sorry that you received a negative email regarding your donut recipe. It does take a little cooking knowledge to keep from burning one’s food, and yes, turn down the heat!!! Cannot wait for my son’s batch to be done as I am assured it will be as good as mine. (I bought an electric pot for my son to use as I cooked mine in a cast iron dutch oven on my gas stove and did have a thermometer in the pot to assure a proper temperature. Takes the challenge out of maintaining a proper temperature. Just a hint for the rude person who previously left a note.) YOUR donuts are fabulous!!!!!!
Barbara Schieving
Thanks Donna! So fun that they’re just like your mom’s donuts 65 years ago – such a great memory. Thanks also for the supportive advice.
Victoria
VERY disappointed with this recipe! I didn’t read the comments until after I’d made them, or I might not have wasted my time. Like other mentioned, the inside was doughy and the outside almist burnt. I tried adjusting the flame down but it didn’t make any difference. Even the donut holes were doughy. How is that possible? Because its a BAD recipe, that’s how! I’d never make another one of this woman’s creations, that’s for sure. Another Nigella Lawson here – in my opinion. She modified a Cooks County recipe? At least they work out the kinks beforehand- so we don’t have to take one for the team like this. I suggest a name change….. how about “Barbara BITES”?
Barbara Schieving
Hi Victoria – sorry you had trouble with the recipe. Even though your comment was definitely rude, I decided to respond so others could learn from your mistake. If the donuts are burning on the outside and doughy inside, then your oil is too hot. Turning down the flame will help, but you also have to wait for the oil to cool down some before adding more donuts. It sounds like you did not have a thermometer to determine how hot your oil was. I suggest investing in an instant-read thermometer.
Foodiewife
I’m shocked at the rudeness of your comment I’ve made many of Barbara’s recipes and they work.
Barbara Schieving
Thanks! <3
Corinne
well that is extremely rude,, maybe its your sour attitude that ruined them 🙁
Nancy
I literally just finished making these. They are delicious!! Thank you for sharing the recipe! It’s a keeper!! 🙂
Barbara Schieving
That’s so fun – thanks Nancy!
Mike
Could I keep the dough in the fridge overnight to fry in the morning? Would that harm anything? Thanks!
Barbara Schieving
Hi Mike – you can do that, just allow time in the morning for the dough to warm up and start to rise again.
Penny Daniels
Thank you for asking this question, Mike. I, too, was wondering if the dough would keep over night too make them in the morning. Did you try it? Were they good?
Elaine
Made these yesterday. I cooked each side for less than 2 minutes and they were cooked through but pretty dark. Maybe take the heat down to 350? They were very tasty and we loved them!
Barbara Schieving
Thanks Elaine – glad they were a big hit! Yes, if they’re browning more than you’d like, I would reduce the heat.