
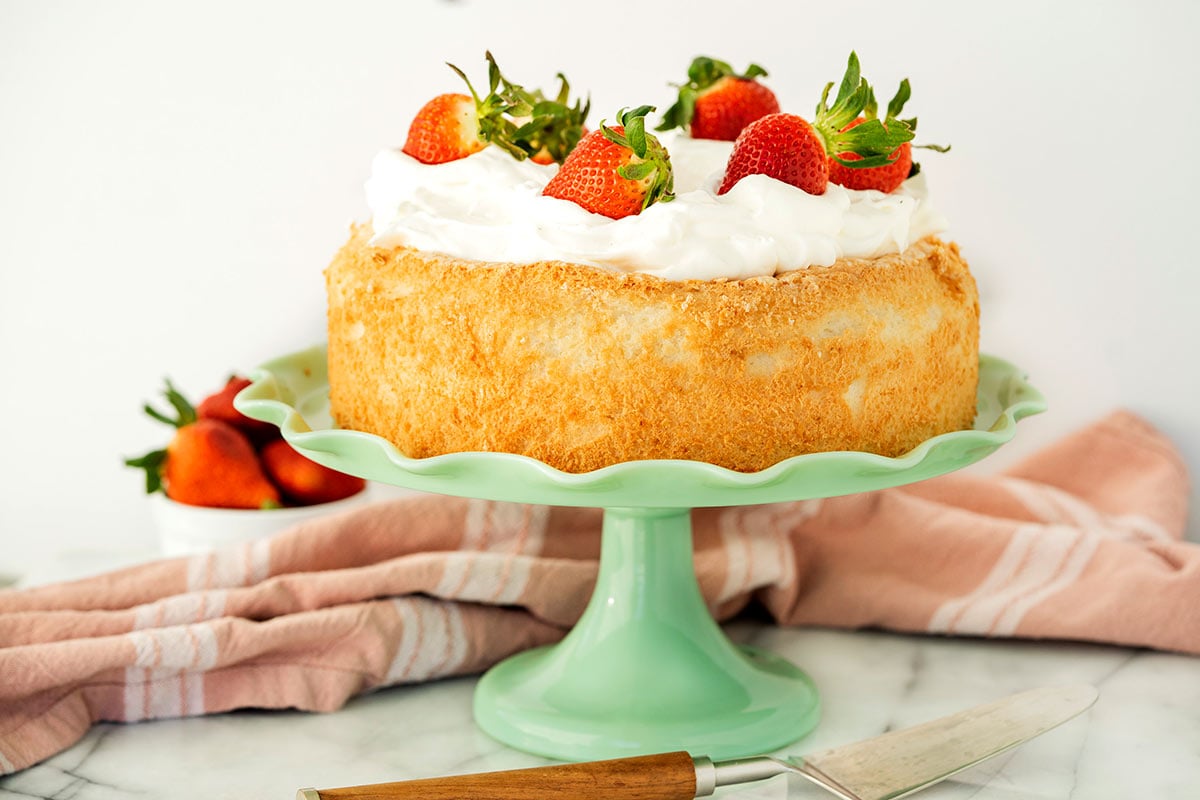
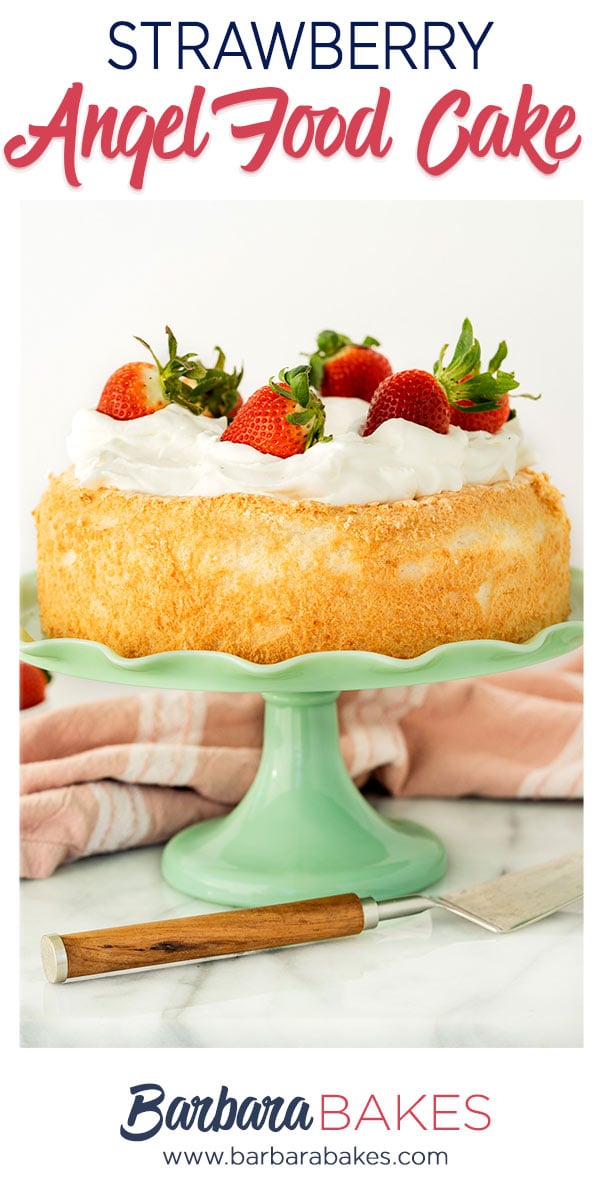
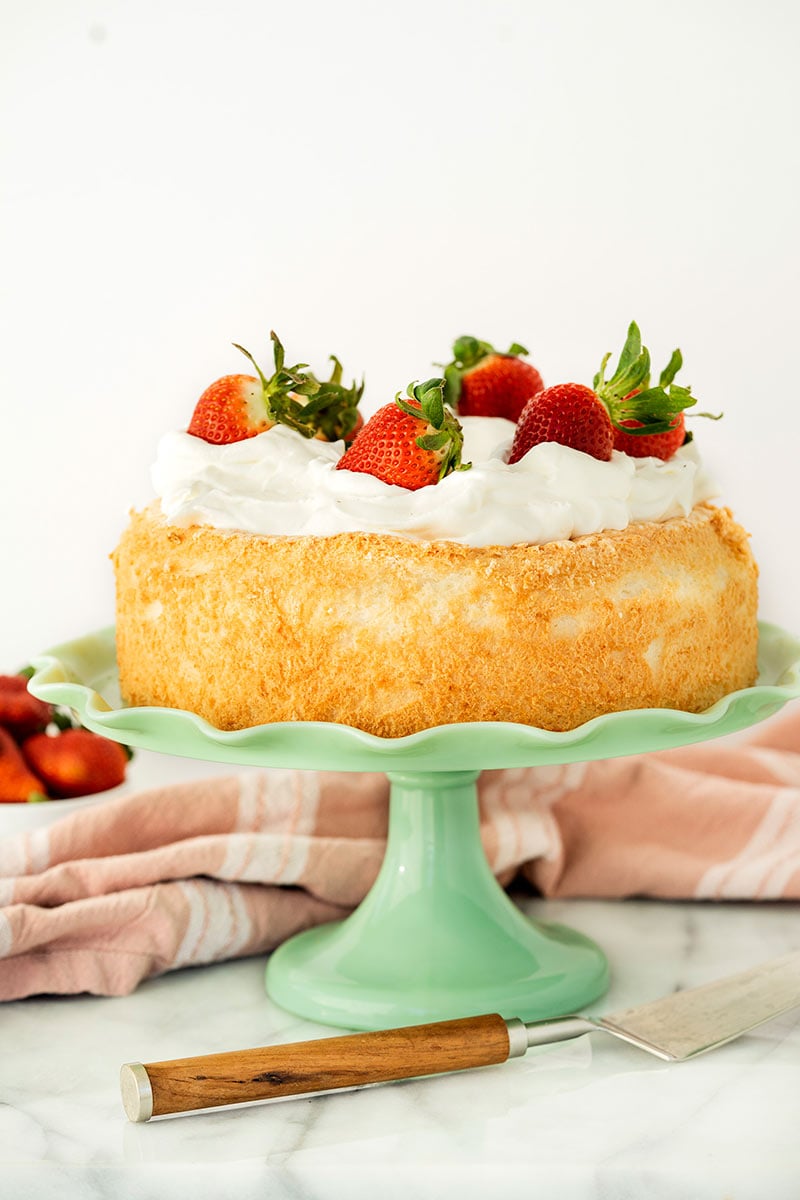
This Strawberry Angel Food Cake is a light, fluffy treat made with a simple meringue and topped with fresh berries and whipped cream. Great for a celebration or any night of the week.
WANT TO SAVE THIS RECIPE?
Enter your email below and we’ll send it straight to your inbox. Plus you’ll get great new recipes from us every week!
❤️ Why You’ll Love This Recipe: This angel food cake is the perfect summery treat for a party, potluck, or picnic. Or, substitute frozen fruit and it’s a great year-round treat.
This cake recipe is from a great new cookbook written by my friend Kristin Hoffman from Baker Bettie. Her book is called The Better Baking Book and it’s loaded with essential baking information. It delves into the science behind baking and why you use each technique.

It’s perfect for beginner and advanced bakers and is full of classic baking recipes like this meringue-based angel food cake.
Tips for Making Meringue
When making the meringue for angel food cake, be sure your egg whites are at room temperature. Eggs that are cold don’t whip as well.
Add the cream of tartar once the egg whites are foamy but do not hold a shape.
When you get to the soft peak stage, the egg white peaks flop over immediately when the beaters are lifted.
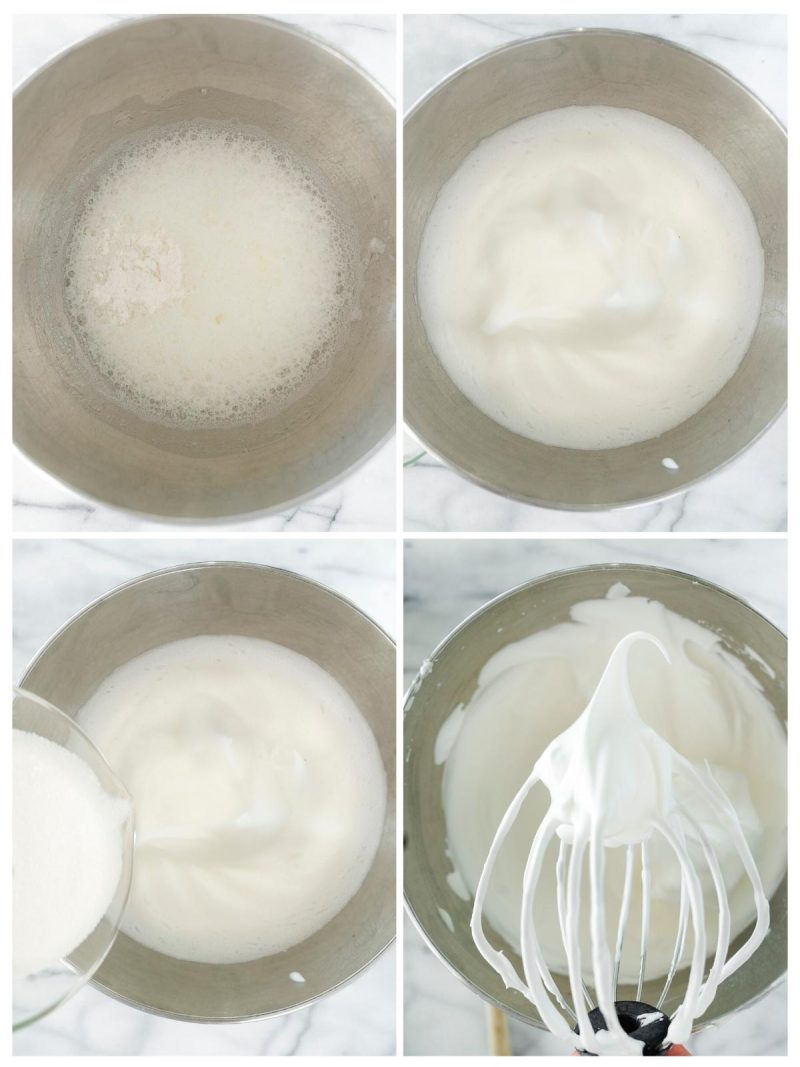
When you add the sugar and get to the stiff peak stage, the meringue will hold a point on the top of the whisk (it will look like the top of a Dairy Queen ice cream cone). The mixture will also be shiny and glossy. During this step, give your meringue a good fold to bring the meringue on the bottom of the bowl to the surface and make sure it’s all at the stiff peak stage. If not, continue whisking until it’s uniform.
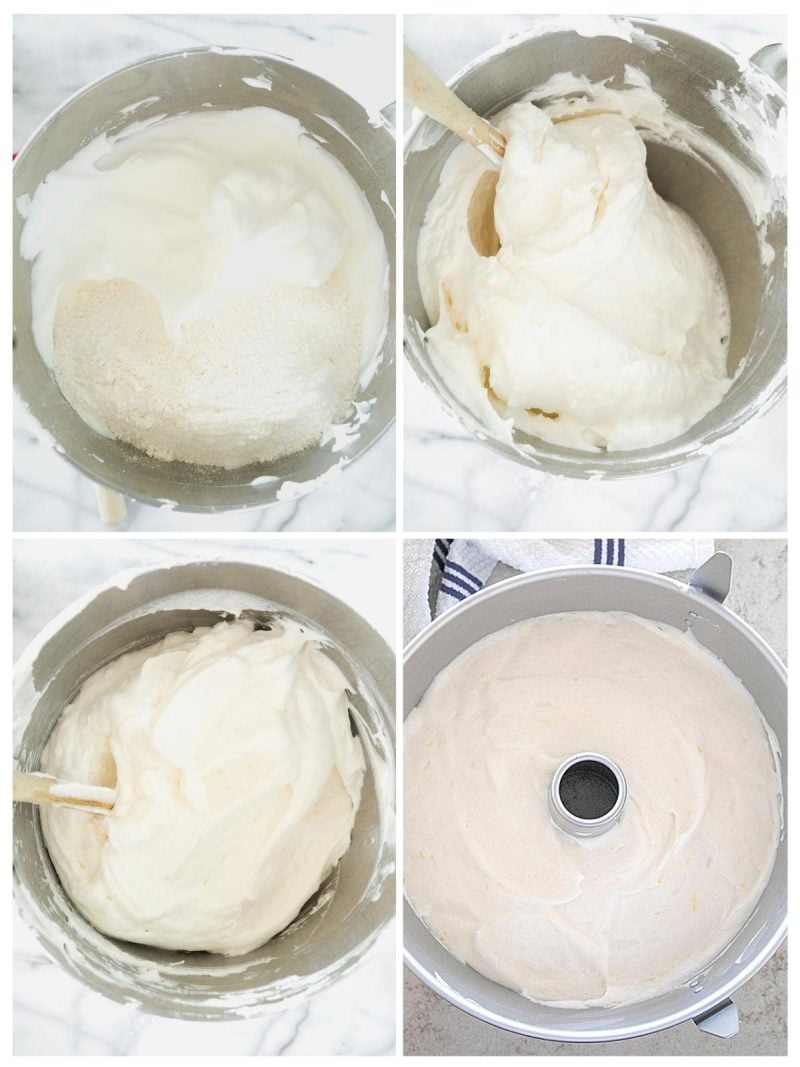
When folding in your dry ingredients, it may seem as though the two will not combine at first. They will, just keep folding. It could take quite a few folds, which is normal. Just gently fold, do not stir the mixture or you will deflate the meringue.
Don’t grease your tube pan. The cake needs to cling to the sides of the pan while it’s baking to rise properly and while it’s cooling.
How to Tell if Angel Food Cake is Done
The cake is done baking when it has a light golden brown surface. The cake should also bounce back when gently pressed. If the surface doesn’t bounce back, keep baking until it does.
The cake should have a light crust, which adds a nice texture to the light and airiness of the cake.
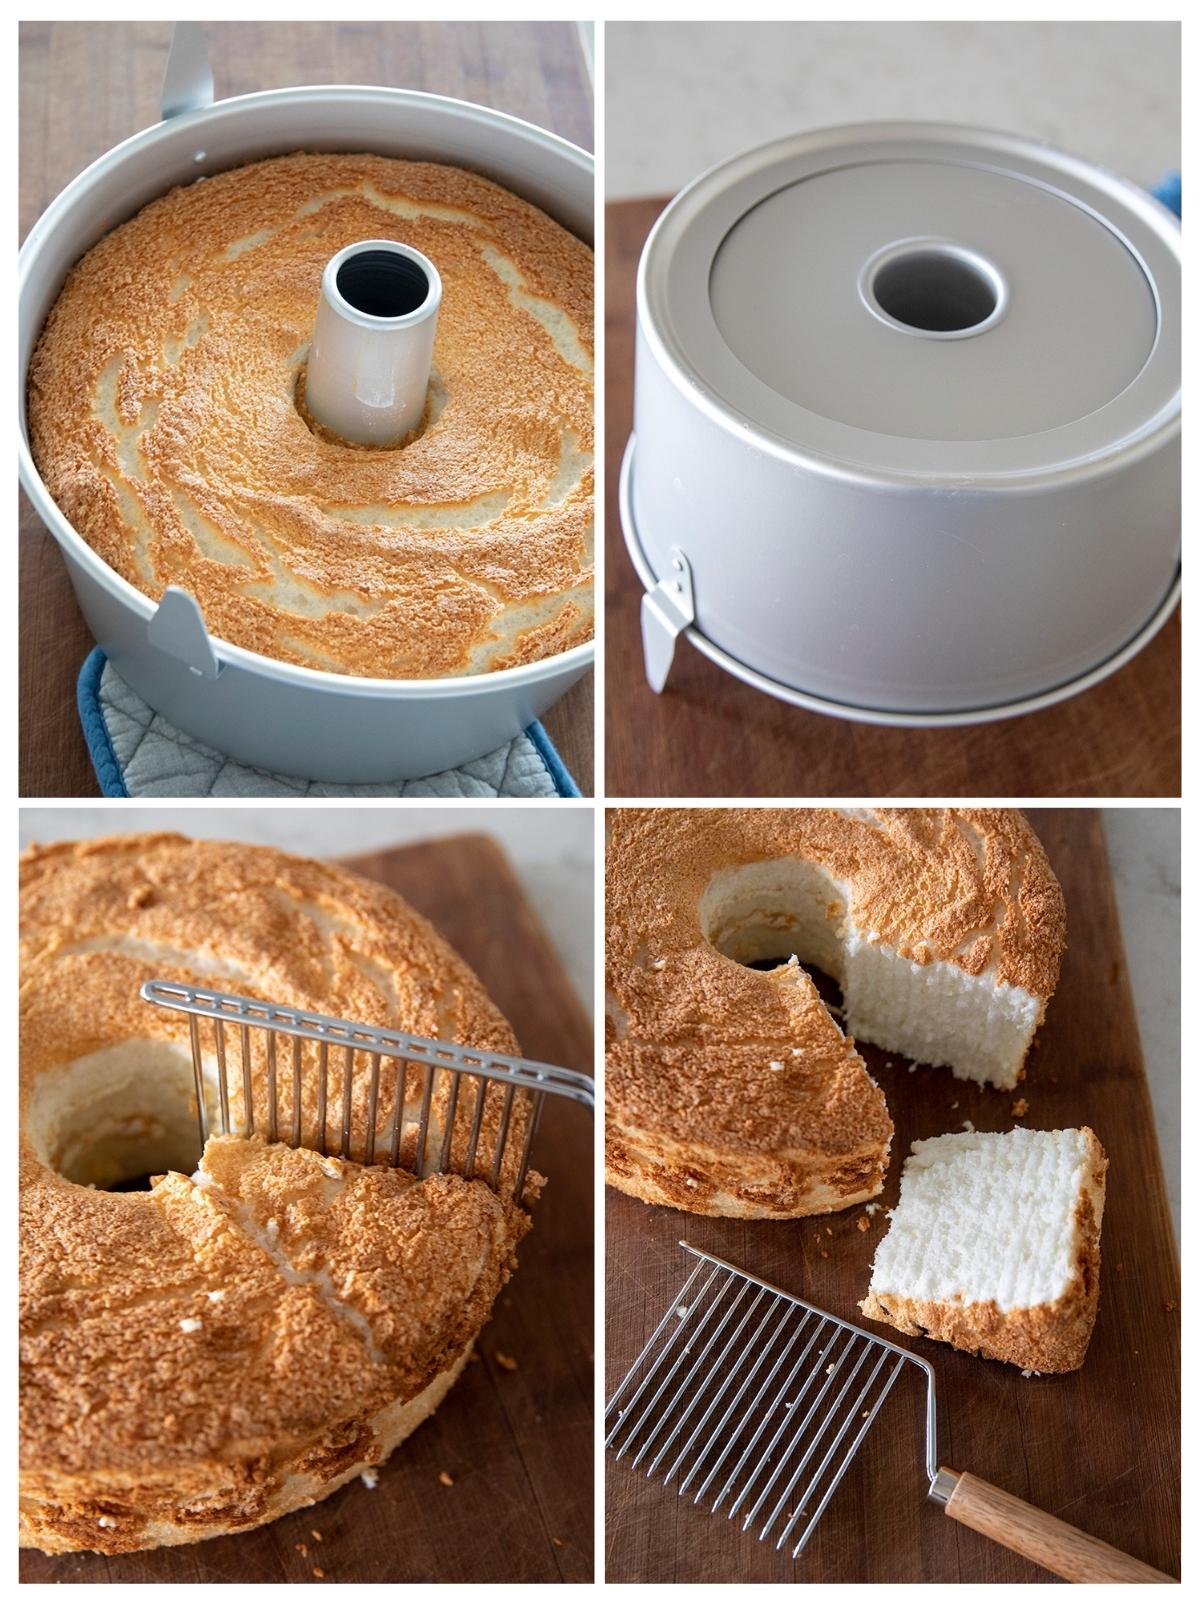
Cooling Angel Food Cake
Angel Food Cake is cooled in the pan upside down. Cooling the cake upside down ensures it doesn’t collapse while it’s cooling.
Newer angel food cake pans have feet you can use to cool the cake upside down. If your tube pan doesn’t have feet, put the hole of the pan over the neck of a bottle.
Serving Suggestions
It’s tempting to just cut right into an angel food cake, but aggressively cutting the cake will smoosh it and the cake will lose its lightness and airiness. The classic way of serving angel food cake is actually to tear it with an angel food cake cutter that has long, skinny tines. You’ll be impressed by how well the angel food cake cutter works.
If you don’t have an angel food cake cutter, you can use two serving forks instead. Place the forks in the same location on the cake and gently pull in opposite directions.
If you prefer to cut the cake, use a bread knife and very lightly use a sawing motion. Saw into the cake but do not press down on the cake as you are sawing.
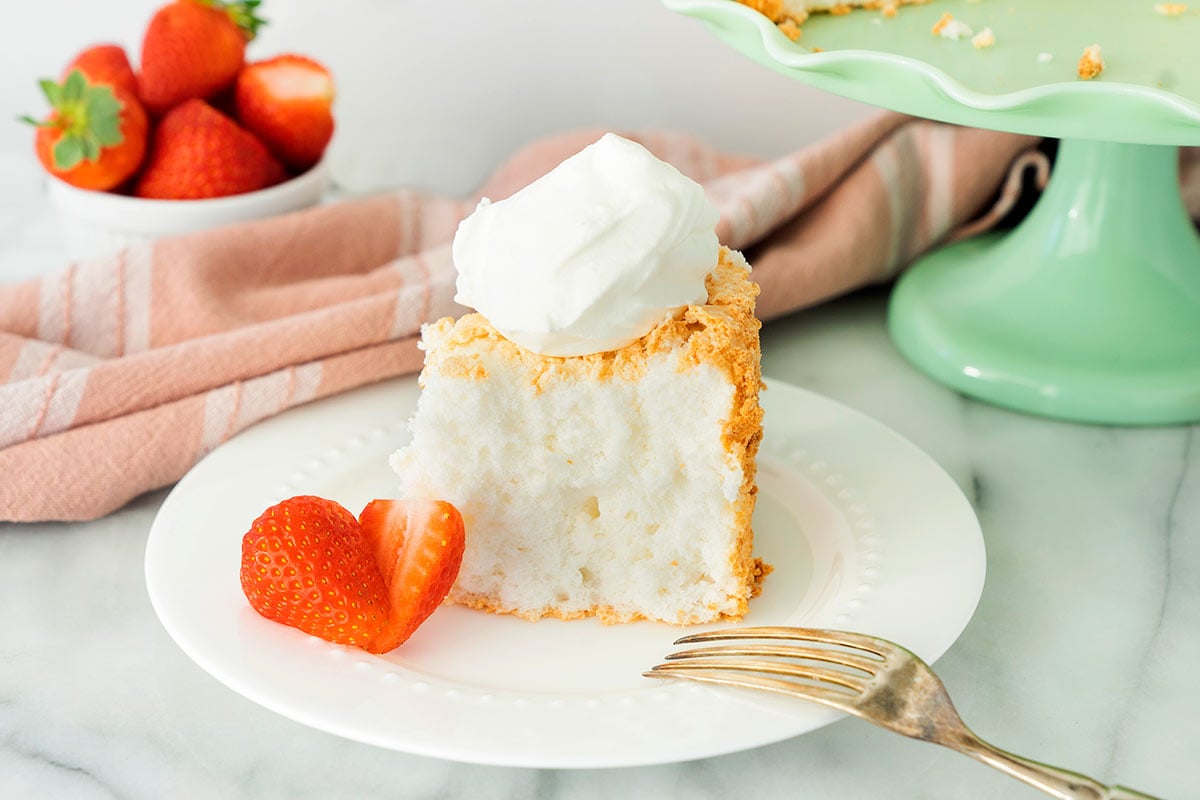
Serve slices with whipped cream and fresh strawberry topping. These toppings keep with the light and airy theme of your dessert.
How to Store Angel Food Cake
Leftovers should be stored in an airtight container. I also recommend that you wrap the cake in plastic wrap to keep any air from drying out the edges.
Cake can be kept at room temperature for up to three days. For longer storage, keep in the freezer for up to six months.
More Cake Recipes
Here are more of our favorite classic cake recipes to try next:
- Strawberry Cheesecake Entremet is a beautiful and tangy layered cheesecake for a summery occasion.
- Hershey’s Perfectly Chocolate Cake is our favorite classic chocolate cake for a birthday celebration.
- The Best Classic Yellow Birthday Cake with Chocolate Frosting is a favorite for kid’s birthday parties.
WANT TO SAVE THIS RECIPE?
Enter your email below and we will send it straight to your inbox. Plus you will get great new recipes from us every week!

Strawberry Angel Food Cake
Equipment
Ingredients
- 1 ½ cups 300 grams granulated sugar, divided*
- 1 cup 115 grams cake flour*
- ¼ teaspoon fine sea salt
- 1 tsp lemon zest
- 1 ¼ cups 300 grams egg whites at room temperature (from about 9 or 10 large eggs)
- 1 ½ teaspoons cream of tartar or lemon juice
- 1 teaspoon lemon zest (optional but recommended
- For serving:
- 2 ½ pounds strawberries hulled (8 cups), divided
- ⅓ cup sugar
- Whipped cream
Instructions
- Cake Prep:
- At least 30 minutes before baking, take the eggs out of the refrigerator and separate the whites from the yolks. Allow to come to room temperature.
- Position an oven rack in the center position. Preheat the oven to 350°F.
- Measure out the rest of your ingredients. Divide the sugar into two ¾ cup (150 grams) portions. (Half of the sugar will be mixed with the egg whites and half will be mixed with the dry ingredients.) Set aside
To Make the Cake:
- In a medium bowl, whisk together the cake flour, ¾ cup sugar, and sea salt.
- Place the egg whites in the bowl of a stand mixer fitted with a whisk attachment, or in a large bowl with a hand mixer. Beat on medium speed until the whites are starting to look frothy
- Add the cream of tartar (or lemon juice) and continue beating on medium speed until the whites are holding soft peaks.
- A tablespoon at a time, add the remaining ¾ cup of sugar to the egg whites while beating at medium speed. (Do not rush this process, as doing it slowly will help create a very stable meringue.)
- Once all the sugar is added, add the lemon zest, if using.
- Increase the speed to medium/high and whip to stiff peaks. They should look glossy and stand tall. (Don’t over whip or the whites will look dry and crumbly and you’ll have to start over.
- Lightly sprinkle the dry ingredients over the egg whites. Using a silicone spatula, begin folding the dry ingredients into the egg whites. This should only take about a minute. Be gentle so that you do not deflate the whites.
- Gently spread the batter evenly into an ungreased 9" or 10" tube pan. Bake for 30-35 minutes. Do not open the oven during the first 30 minutes of baking or the cake may fall. The cake is finished when browned and dry to the touch and the top springs back when gently pressed.
- Carefully invert the pan, place it on a stable surface, and let it cool upside down for 1 ½ hours. (This will help the cake hold its height.)
- Once the cake is completely cooled, turn right-side-up, run a butter knife around the sides, the center, and the bottom of the pan, and remove the cake from the pan. Allow the cake to cool completely before serving.
- Serve with strawberries topping and whipped cream.
- To store, wrap the completely cooled cake well with plastic wrap and keep under refrigeration for up to 1 week. It is best eaten within the first few days.
Strawberry Topping:
- Crush 3 cup strawberries with a potato masher.
- Slice remaining berries and stir into crushed berries with ⅓ cup sugar.
- Let sit at room temperature, stirring occasionally until fruit begins to release its juices, about 30 minutes or up to 2 hours.

Leave a Reply